Installing Anaconda and how to run python code using this website#
In this chapter we will guide you through how to use Anaconda and the current Jupyter notenbook to run python code.
Anaconda#
Installing Anaconda is a very convenient way to get started with programming in Python if you are a psychologist/neuroscientist. If you don’t have any prior programming experience, we suggest you download the latest version of Anaconda via this link. You can view Anaconda as a kind of starter pack for doing data-science in Python: it installs not only Python for you, but also all kinds of packages (add-ons) and software that you will most certainly use as a scientist.
Note: A disadvantage of Anaconda is that it also installs a lot of packages/software that you will perhaps never use. Therefore, if you already have experience with programming, a good alternative is miniconda, which gives you all the functionality of Anaconda without the extra packages/software.
Spyder: your Python IDE#
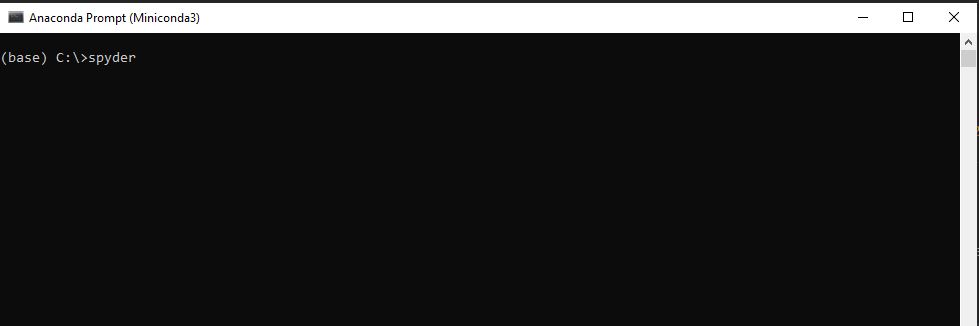
Just as you type words to make essays in either Word, Pages or Notepad, you can also have different software programs in which you can type Python code to make Python scripts. We call those software programs integrated development environments (IDEs). Conveniently, your Anaconda installation comes with one such IDE: Spyder. Just as Word and Pages have all kind of tools to help you write essays, Spyder comes with all kinds of tools to help you write Python code. However, just as you had to practice with Word to make the best use of the tool, so it is that you’ll need practice to make the best use of Spyder. The best way to open Spyder is to search for the Anaconda Prompt program on your computer, and then to type in “spyder”. See the screenshot below for how it should look like.
If you are new with Spyder/Python IDES, follow the material below to get on your way: If you like learning from video’s, follow these tutorials If you like learning by reading along, follow this tutorial
Jupyter Notebooks#
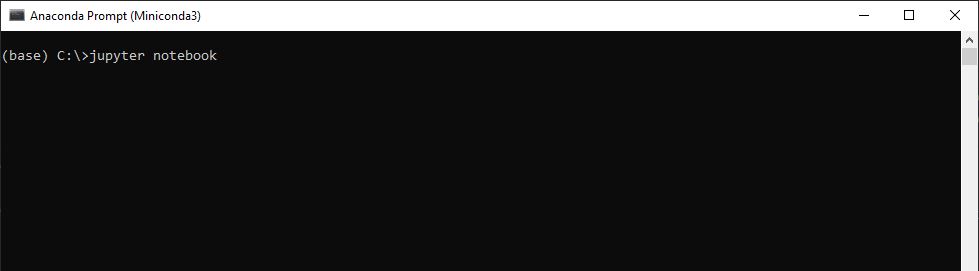
We will often work with jupyter notebooks in this class. To be able to open and use Jupyter Notebooks (which you can recognize with the .ipynb extension), we will need another program than Spyder. Luckily, your Anaconda distribution also comes with Jupyter Notebook: a way to view and edit jupyter notebooks. To open the software, run the following command in your Anaconda Prompt:
jupyter notebook
See below how it should look like:
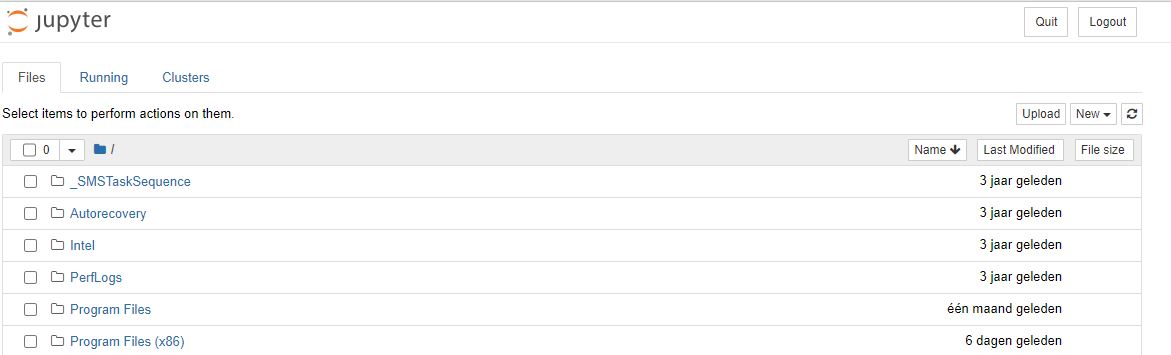
This will open a browser page, in which you can navigate to your .ipynb file and make changes. It should look something like this:
Using this website (Jupyter Notebooks and Google Colabs)#
Lastly, some notes on how to use this website. This website is powered by Jupyter Notebook, a web-based IDE that allows script and text to be integrated in one file. This website is built using Jupyter Book, which collects (amongst other things) Jupyter Notebooks in a nice book-like format. Thanks to this format, we can merge text …
print("... and Python code, all in one file!")
... and Python code, all in one file!
This will be very useful later on, when we will guide you through Python exercises on this website. Just as Spyder, in Jupyter Notebook format you also have a place where you write code, and a place where the output is (console). Now, run the following code:
age = input("What is your age? Type your age here: ")

if int(age) < 24:
    print("Wow you are young!")
elif int(age) >= 25:
    print("Nice, a real 90s kid")
---------------------------------------------------------------------------
ValueError                                Traceback (most recent call last)
~\AppData\Local\Temp\ipykernel_22136\1409236549.py in <module>
      1 age = input("What is your age? Type your age here: ")
      2
----> 3 if int(age) < 24:
      4     print("Wow you are young!")
      5 elif int(age) >= 25:

ValueError: invalid literal for int() with base 10: ''
Hmmm…perhaps you are puzzled now since you are not able to run this. To be able to interact with the code blocks, you will need to start your own interactive server. For that, click on the rocket on the top right of your screen and choose “Colab”.
![]()
A server will start, and you are able to interact with all the code blocks. Go do it now if you are still reading from the non-interactive website!
Now, try to run the code above, simply click on the arrow >. Importantly, the changes you make in this interactive environment will not be automatically saved. The easiest way to save your changes is by saving a copy on your Google Drive. If for any reason you don’t want to store anything on Google Drive, you can also download your file as an .ipynb and store in on your computer. Whenever you are in a Google Colab environment, you can load in that file again. Alternatively, you can open the .ipynb file with the Jupyter Notebook software described above.
Whenever you need to start a Google Colab server, we will make it clear with a note like the following:
Note: For this part of the tutorial you will need to launch the script using Google Colab
There are interactive elements (like multiple choice questions) for which you don’t have to switch, so keep an eye out for this note before you go to Google Colab.
If you’ve gone through all the steps successfully you have everything ready to follow the remainder of this course. Let’s start!